Steps to replace the power supply on the gMax 1.5+ series printers.
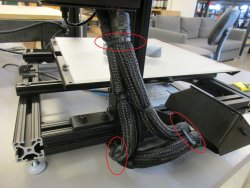
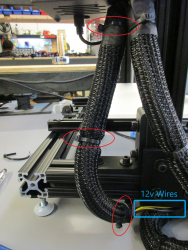
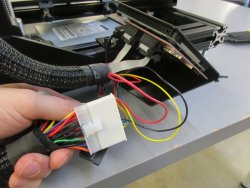
To replace the power supply on your gMax 3D printer, you will first need to remove the tech flex around the 12v wires, and free up the other power supply wire bundle. Clip the large and medium zip ties shown. You will only need to clip the medium zip ties on the wire bundle holding the 12v wires.
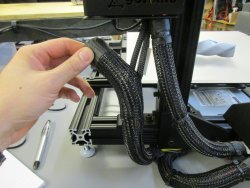
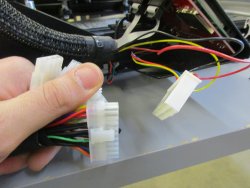
With the zip ties clipped, you can remove the tech flex covering the wires. Next you disconnect the 12v power at the connector shown.
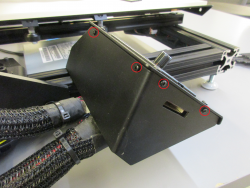
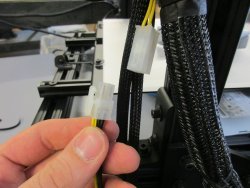
Next you will need to remove the 4 screws holding the rear cover onto the LCD housing. With that removed, you will disconnect the rest of the wires at the 24 pin connector. Be careful not to pull on this connector to hard, or you can disconnect the power button for your printer.
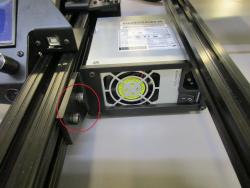
Next you will need to unscrew the 1/4-20 bolts holding the power supply to the printer. You will need to use a 3/16" allen key.
When installing the new power supply, start with the t-nut and bolt closeed to the power supply body. You can use a smaller allen key to hold the t-nut in place during this process. Before tightening the bolts, push the power supply as far back as it will go.
Now you can reconnect 12v wires and the 24pin connector.
Next replace the rear cover on the LCD housing and replace the tech flex. If you have spare zip ties, you can secure the tech flex again.