Changing Your Acrylic Bed
The acrylic bed is designed to be a replaceable print surface. If it starts to get to damaged, here are the steps to replace it.
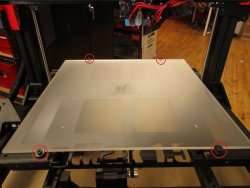
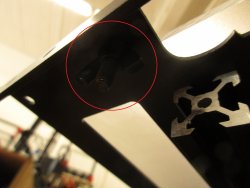
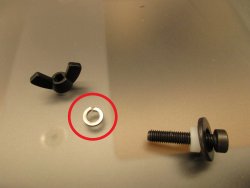
The acrylic bed has 4 mounting bolts holding it in place. Under the aluminum bed, there are wingnuts and split lock washers used to help tighten the acrylic to the aluminum bed.
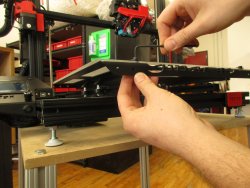
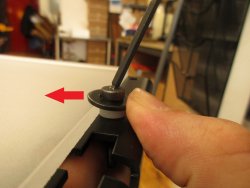
You will need a 3 mm hex key to loosen the hardware holding the acrylic in place. While loosening, make sure to hold the wingnut in place. You do not need to fully remove the bolts to remove the acrylic bed. It just has to be loose enough to move the washers.
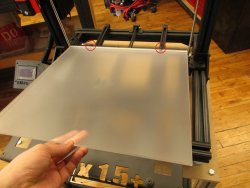
When replacing the acrylic, place the back end of the piece in first. Make sure the washers are sitting on top of the acrylic.
As you start to tighten the bolts, make sure to push the washer towards the acrylic so it can get a firm grip on the acrylic.
If you do fully remove the hardware, make sure to put the split lock washer in between the wing nut and the aluminum bed. Otherwise the wingnut may come loose and let the acrylic bed shift during printing.