Tips for cleaning your lead screw
Here are the steps to clean your lead screws in the event that they get any type of contaminant on them. The lead screws used on the gMax printer do not need any lubricating oil. The nylon nut blocks provide a smooth enough surface and using lubrication can cause issues with your z travel. Make sure to only clean one lead screw at a time to prevent the X-axis arm from dropping on the print bed.
Tools Needed:
- Acetone
- Paper Towel
- Powered Drill
- 2mm, 3mm and 5/32" allen wrench
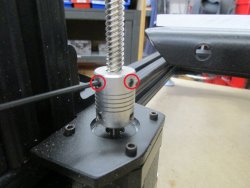
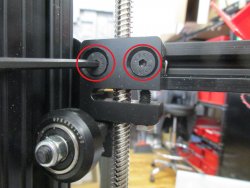
Removing your lead screw:

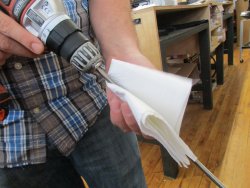
Cleaning:
Putting it back together:
When it is time to reinstall the lead screw, start with inserting it into the z coupler. You can tighten the set screws to hold it in place. But when you reattach the nylon nut block to the x-axis arm and the lead screw holder to the top of the printer, do not tighten them. Only get the bolts in enough to hold it in place.
Once both lead screws are cleaned and reinstalled, you will need to align the lead screws to ensure the z-axis has smooth movement. You can find instructions on this here. This must be completed after the lead screws have been cleaned.
Once both lead screws are cleaned and reinstalled, you will need to align the lead screws to ensure the z-axis has smooth movement. You can find instructions on this here. This must be completed after the lead screws have been cleaned.