Aligning the Lead Screws
Here are the steps to align the lead screws on your gMax printer. This may need to be done from time to time as part of general maintenance or if you are starting to experience binding issues while trying to move the x-axis arm up the z-axis.
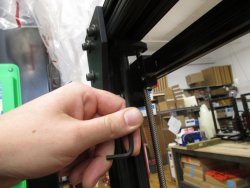
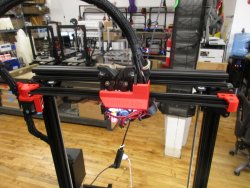
You will start by loosening the bolts on the nutsblocks and the lead screw holder
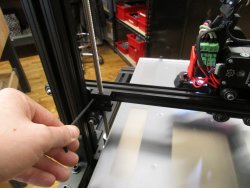
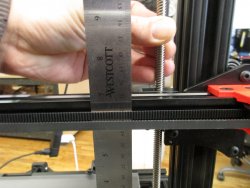
After everything is loose, you want to make sure the x-axis arm is level to the bed. This can be done with a ruler. Simple measure the distance between the bed and x-axis arm. If one side is higher or lower, you can manually turn one of the lead screws to make sure both side are equal distances away from the bed.
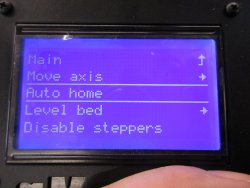
Next you want to perform an auto home. You can find this under the prepare menu.
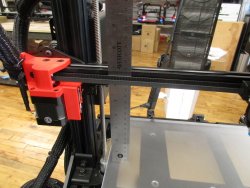
After the auto home function has finished, you want make sure the lead screws are point straight up. You will also take this time to tighten the nutblock on the x-axis arm.
The next step will be to raise the x-axis arm all the way to the top of the frame. You can do this by going to Menu>Prepare>Move Axis>Z axis>1mm.
Once the x-axis arm is at the top of the frame, you can tighten the lead screw holders. And your lead screws are now aligned!
Warning:
The bolts in the nutblocks and the lead screw holders may be difficult to loosen. They were coated in locktight prior to shipping. You can reapply locktight if you like, but it is not necessary.