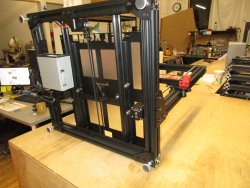
Installing Y-axis Plate
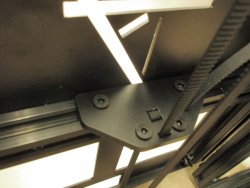
The Y-Axis metal plate installation is a fairly easy process and the belts supplied are long enough to allow for future tightening. Use the guide below to install a new Y-axis plate or belt.
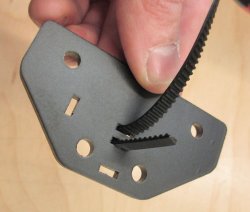
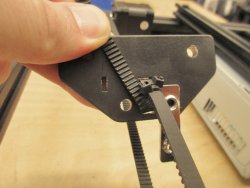
Insert the GT2 belt in the top hole of the metal plate with ribbed side down.
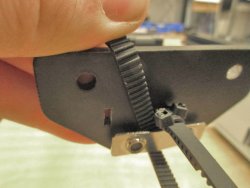
Then loop belt through lower hole as shown.
Then loop belt through lower hole as shown.
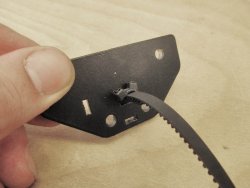
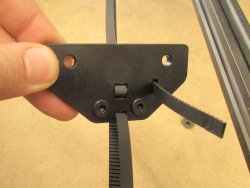
Using the supplied zip-ties, wrap them around the the overlapping pieces of gt2 belt and pull tight.
Once tight, trim the ends of the zip ties.
Once tight, trim the ends of the zip ties.
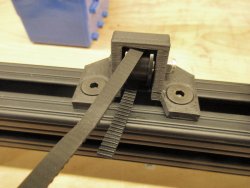
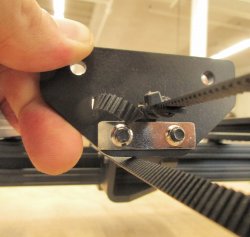
Once belt has been run through rear pulley and motor bracket, insert belt into lower slot of the metal plate. Pull excess belt up towards top of bracket.
While pulling the belt tight, use the 2 M5x10mm low profile screws and double tnut to secure belt in place.
Insert remaining belt into vertical slot on metal plate. To tighten the belt in the future, simply loosed the double tnut and pull belt tight.
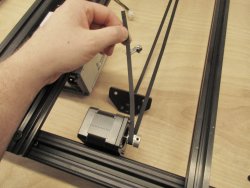
Installing Y-axis Plate on the Printer
Last edited:

